Why proper stove ventilation matters for your home
A dedicated kitchen range hood does far more than clear the air when dinner scorches on the stove. Every time you turn on a gas burner or sear proteins at high heat, your cookware releases grease droplets, water vapor, fine particulate matter, and combustion gases like carbon monoxide and nitrogen dioxide into your living space. Without an effective system to capture and expel these airborne contaminants outside, they settle onto cabinetry, degrade wall finishes, and compromise indoor air quality throughout the entire house.
Moisture is an invisible byproduct that frequently causes substantial structural problems over time. Boiling pasta, simmering soups, and running water on hot cookware inject gallons of humidity into household air weekly. In tightly sealed modern structures, this humid air cannot readily escape, often finding its way into wall cavities, subfloors, and attic insulation where mold quickly proliferates. A properly configured cooking exhaust fan captures this moisture at the surface before it has the opportunity to disperse and condense.
Air movement principles in high-demand environments demonstrate the necessity of targeted exhaust. Much like maintaining safe breathing conditions inside an indoor range where heavy-duty air handlers clear contaminants continuously, a residential cooking area requires a dependable path to channel airborne debris outside. Venting a stove hood directly to the exterior safeguards your cabinetry, protects your home investment, and provides a noticeably fresher environment for family and guests.
Choosing to install a genuine venting pathway requires careful consideration of structural layout and mechanical code. Simply circulating air through an overhead microwave or non-vented appliance will catch coarse grease, but it does nothing to address moisture or gas combustion byproducts. Investing the time and effort into installing smooth, exterior-vented ductwork establishes a durable foundation that will serve your household through decades of everyday cooking.
Ducted versus ductless range ventilation systems
When evaluating kitchen ventilation options, the fundamental choice comes down to ducted systems versus ductless recirculating setups. A true ducted range hood pulls cooking byproducts through metal baffles or mesh screens, guides the dirty air into a dedicated pipe, and ejects it outside the home entirely. This creates negative pressure over the cooking surface, capturing smoke plumes efficiently before they migrate across adjacent living spaces or settle on ceiling drywall.
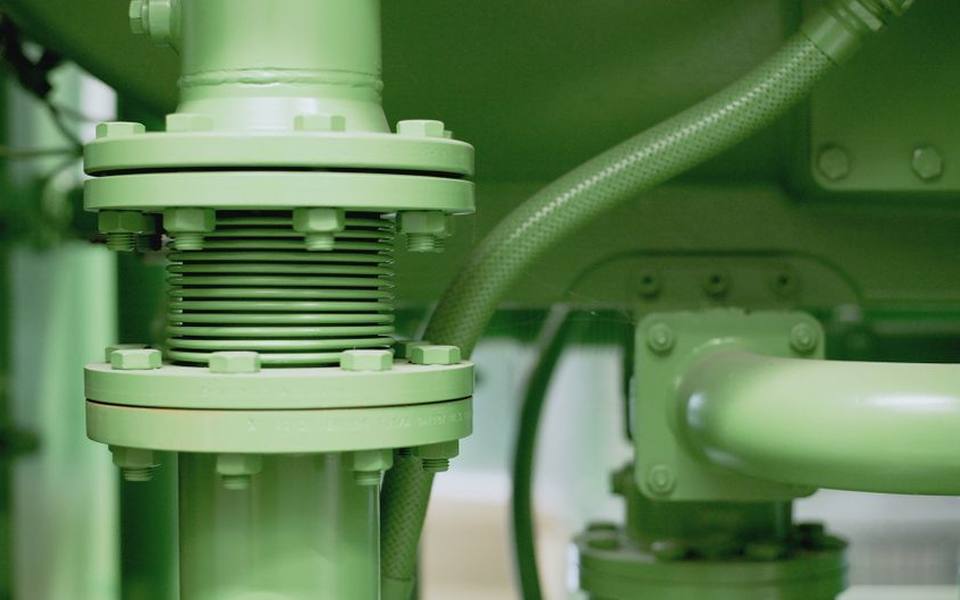
Ductless units, commonly found in apartment conversions or interior kitchen renovations where roof or exterior wall access is restricted, work on an entirely different mechanical concept. These appliances suck air through basic aluminum mesh filters to catch aerosolized oil, pass it through an activated charcoal pad to reduce offensive odors, and blow the scrubbed air right back into the room. While they help catch surface oil, they leave humidity, ambient heat, and microscopic combustion byproducts trapped indoors.
Performance differences between the two styles become immediately noticeable when cooking with high heat, such as wok stir-frying, deep frying, or high-temperature cast-iron searing. A ducted vent hood handles large volumes of dense grease and heat effortlessly, keeping the ambient temperature of your kitchen comfortable. Recirculating setups struggle under intense loads, frequently saturating their carbon media rapidly and leaving lingering odors and oily residues on surrounding countertops.
Selecting between them generally comes down to your home's structural framing and budget. While running a new kitchen hood duct requires cutting access holes through siding or roof decking, the payoff in home cleanliness and air purity is substantial. If wall or ceiling paths make exterior routing practically impossible, ductless remains a viable backup, but a ducted installation remains the gold standard for residential kitchens.
Sizing the exhaust duct diameter correctly
One of the most frequent errors made during DIY kitchen remodels involves using undersized pipe for the range hood exhaust duct. Modern range hoods move substantial quantities of air, typically rated between 300 and 1,200 cubic feet per minute. Trying to squeeze high airflow through a restrictive four-inch pipe creates intense static backpressure, choking the fan motor, generating excessive noise, and drastically diminishing smoke capture at the stovetop.
Matching the duct diameter to your blower capacity is straightforward when following basic mechanical guidelines. Units rated up to 400 cubic feet per minute generally function smoothly with a six-inch round duct. If your hood fan operates between 600 and 900 cubic feet per minute, an eight-inch round run is typically required to keep air speed balanced and quiet. Heavy-duty commercial-style blowers topping 1,000 cubic feet per minute normally call for a ten-inch duct to accommodate the volume.
Air turbulence inside narrow pipes leads to rattling dampers and premature motor burnout. When air rushes too quickly through an undersized channel, friction against the duct walls increases exponentially, causing the blower to work against severe resistance. If you are replacing an older appliance that used a narrow rectangular duct, it is strongly advised to open the soffit and expand the kitchen hood ductwork rather than necking down a powerful new hood to fit outdated piping.
Transition fittings should always maintain or expand volume rather than restrict it. When changing from the hood's top rectangular collar to a round chimney run, use a gradual, purpose-built transition boot. Abrupt ninety-degree transitions or sudden reductions cause air to swirl and stall, which not only amplifies operational noise but also encourages vaporized oil to cool, condense, and pool inside the metal pipe.
Selecting rigid metal over flexible pipe
Building codes and mechanical standards across North America are unequivocal regarding the material required for a range exhaust duct: it must be smooth, rigid metal. Galvanized sheet metal or rigid stainless steel are the standard choices because they provide structural stability, smooth internal airflow, and crucial fire resistance. Cooking exhaust carries vaporized animal and vegetable fats, which settle on duct surfaces and represent a legitimate fuel source if a stovetop fire ever sparks upward.
Flexible ribbed foil, corrugated aluminum, and plastic tubing should never be utilized for venting stove hood systems. The internal ridges found inside flexible ducting generate extreme turbulence that slows airflow significantly. Even worse, those deep internal corrugated ridges collect grease droplets like tiny shelves. Over months of regular cooking, a corrugated flex line can accumulate a thick coating of flammable sludge that creates an extreme fire hazard within wall assemblies.
Beyond fire risk, flexible accordion-style pipes are fragile and easily punctured by drywall screws, framing nails, or sharp edges during installation. A tear in flexible pipe allows moist, grease-laden air to blow directly into floor joists or attic insulation, where it remains undetected until moisture rot or pest infestations emerge. Rigid metal pipes, properly fastened and sealed along the longitudinal seams, ensure an airtight, lifelong barrier against leaks.
To put installation safety into perspective, homeowners often consult professional advice or complete training or certification classes before handling hazardous structural work; applying that same mindset of strict adherence to building code when selecting duct materials protects your dwelling from catastrophic chimney fires.
Planning the most efficient duct path
The ideal path for any exhaust hood duct is the shortest, straightest route to the outdoors. Every foot of pipe and every turn introduces resistance that reduces the real-world efficiency of your cooking exhaust fan. When planning the route from your stove hood, determine whether penetrating an exterior wall directly behind the appliance or running vertically through the roof provides the least complicated passage with minimal directional changes.
A straight horizontal run out an exterior wall is generally the easiest and most efficient approach for ranges positioned along an outside perimeter. In this layout, the duct exits the back of the hood, passes straight through the wall studs, and connects directly to a louvered wall cap outside. This configuration eliminates unnecessary bends, keeps static pressure minimal, and allows the fan to operate at peak efficiency while generating very little motor strain or air rush noise.
For kitchen islands or ranges located on interior walls, vertical hood fan ducting through the ceiling, attic, and roofline is usually necessary. When plotting a vertical pathway, work carefully to avoid ceiling joists, electrical wiring, and plumbing stacks. If a jog in the duct is mandatory to clear a framing obstruction, use two gentle forty-five-degree elbows instead of a single sharp ninety-degree turn, as gradual sweeps maintain air velocity with noticeably less turbulence.
Calculating equivalent duct length helps confirm your layout will work properly. Each ninety-degree elbow typically adds roughly ten equivalent feet of straight pipe in terms of friction resistance, while a forty-five-degree elbow adds approximately five feet. Most residential blower manufacturers specify a maximum allowable equivalent run—often between thirty and fifty feet—so minimizing fittings keeps your exhaust hood ductwork within safe operational specifications.
Airflow volume and makeup air requirements
Installing a high-capacity ducted range hood provides outstanding air capture, but moving vast quantities of air out of a home creates an equal deficit that must be addressed. Modern homes are built with tight thermal envelopes, vapor barriers, and multi-pane windows to prevent drafts. When a powerful blower expels 600 to 1,200 cubic feet of air every minute, your house is placed under negative atmospheric pressure unless an equivalent amount of fresh air enters.

Negative pressure causes serious performance and health concerns, most notably backdrafting. When a house cannot draw air through normal infiltration, it pulls replacement air down water heater flues, furnace chimneys, or wood-burning fireplaces, drawing lethal carbon monoxide directly into your living spaces. Similar to the strict ventilation criteria enforced in commercial venues or regional shooting range facilities, residential kitchens demanding high-volume air turnover must maintain equalized atmospheric pressure.
Most municipal building codes now mandate a dedicated makeup air system whenever a range hood exceeds 400 cubic feet per minute. These systems utilize an electrically interlocked motorized damper connected to an outdoor intake duct. When you switch on the cooking exhaust fan at medium or high speeds, the damper automatically opens, introducing filtered and sometimes tempered outdoor air into the HVAC return plenum or directly into the kitchen area to balance indoor pressure.
If you are planning an upgrade in a tightly sealed newer home, check local building standards before buying a commercial-grade range kitchen hood. Choosing a model rated at 390 cubic feet per minute can often save you the expense and complexity of installing interlocked makeup air dampers. If your cooking style genuinely demands higher CFM power, budget for a compliant makeup air damper system from the start.
Wall caps, roof terminations, and backdraft dampers
The termination point of your range hood exhaust duct is the critical boundary between your home's mechanical system and the outdoor elements. Whether the pipe exits horizontally through exterior siding or vertically through roof shingles, the termination fitting must prevent rain, snow, downdrafts, and outdoor pests from entering your ductwork while allowing oily exhaust air to vent freely without restriction.
A quality wall or roof cap includes an integrated, spring-loaded or gravity-assisted backdraft damper. This damper consists of a metal flap that blows open when the range fan operates and drops tightly shut when the unit turns off. Without an effective damper, freezing winter air or scorching summer humidity will travel directly down the kitchen hood duct, creating drafts, lowering energy efficiency, and causing condensation to drip from the hood onto your range top.
Avoid using caps equipped with fine wire insect screens designed for bathroom vents or dryer lines. Grease droplets carried in cooking exhaust quickly cling to fine mesh, collecting dust and lint until the exit opening is completely blinded. Instead, use caps fitted with a sturdy, coarse quarter-inch bird screen or heavy louvers that block nesting birds and rodents without catching grease aerosols.
Proper exterior flashing and sealing ensure weatherproofing integrity. On vertical roof runs, slide the upper half of the metal roof cap flange underneath the overlapping shingles and bed the entire plate in exterior-grade roofing mastic. On exterior walls, flash around siding penetrations and seal perimeter edges with high-performance silicone or polyurethane caulk to stop driving rainwater from soaking into the wall sheath.
Common installation mistakes to avoid
A frequent error made when installing kitchen hood ductwork is securing joints with standard sheet metal screws that penetrate into the interior airstream. While screws are standard practice in heating and cooling ducts, they act as grease snags in kitchen exhaust lines. Vaporized fats and cooking debris latch onto the protruding screw points, gradually building thick, fuzzy grease clumps that restrict airflow and create concentrated fire hazards. Always connect joints using heat-rated aluminum foil tape.
Another widespread pitfall is the improper insulation of ductwork passing through unconditioned attics or crawlspaces. When hot, moisture-saturated cooking exhaust travels through a cold attic during winter months, the rapid temperature drop causes moisture and grease to condense instantly on the inside of the cold pipe. This acidic condensate runs backward down the duct joints, corroding the metal and dripping down into the hood blower assembly.
Duct tape selection also warrants close attention during assembly. Standard fabric-backed, rubber-adhesive duct tape degrades quickly when exposed to temperature fluctuations and grease vapors, drying out and peeling away within a couple of seasons. Always specify UL-listed aluminum foil tape or mastic tape rated for high temperatures, pressing it firmly into the metal seams to form a durable, airtight seal.
Lastly, never vent a ducted vent hood into an attic, wall cavity, crawlspace, or chimney flue. Dumping hot, greasy air into an enclosed structural space guarantees moisture damage, mold outbreaks, and ruined insulation, alongside severe fire code violations. The exhaust run must travel continuously within its dedicated rigid metal conduit until it vents cleanly outside the building envelope.
Routine maintenance and duct inspection
Even the most meticulously designed hood fan ducting requires periodic care to sustain high performance and protect against fire hazards. The front line of defense is your hood's filter system, typically consisting of stainless steel baffle filters or layered aluminum mesh. These components are engineered to chill vaporized grease out of the airstream so it pools harmlessly in collection channels rather than traveling deep into the duct interior.
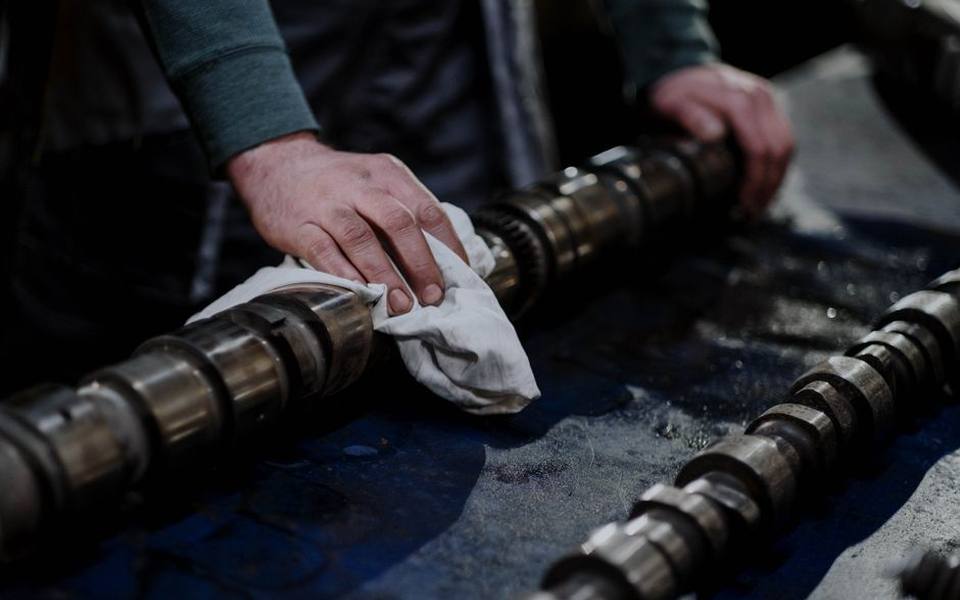
Cleaning baffle and mesh filters every few weeks, depending on cooking frequency, is essential. Most metal filters can be washed easily by hand in hot soapy water with a grease-cutting detergent or run through a normal dishwasher cycle. If filters become gummed up with hardened grease, airflow plummets, forcing oily fumes to bypass filter seals and enter the exhaust hood ductwork, where cleaning is significantly more difficult.
Inspecting the internal ductwork should be performed on an annual basis. Remove the primary filters and peer up into the intake chamber using a strong flashlight to check the blower fan blades and visible duct walls. If you notice a thick, sticky coating extending up into the pipe, it indicates that cooking fats are escaping the filters and building up inside the exhaust run.
Clear external termination caps each spring and autumn to ensure trouble-free operation. Leaves, windblown debris, and hornet nests can lodge behind exterior damper flaps, jamming them open or closed. Checking that the exterior flapper moves freely ensures quiet, efficient performance and prevents unconditioned outdoor air from chilling your kitchen when the cooking exhaust fan is idle.
Costs and hiring a professional installer
The overall investment required to install a ducted range hood depends largely on whether an existing duct pathway exists or if a new path must be cut through structural framing. If you are simply replacing an old unit that already utilizes a correctly sized rigid duct, labor expenses typically remain modest. However, running a brand-new run through ceiling drywall, joists, and roof trusses into an unvented kitchen represents a substantially larger carpentry and HVAC project.
Hiring the right tradesperson is essential for a clean, code-compliant result. While general handymen can tackle simple drop-in replacements, routing new kitchen hood ductwork through load-bearing walls or roof decking is best handled by a licensed HVAC contractor or qualified mechanical installer. These professionals possess the tools to cut clean roof penetrations, flash terminations properly against leaks, and calculate static pressure losses accurately.
Permit rules and regional codes vary considerably, whether your home is located in Texas, along the humid coastal regions, or in snowy northern states where attic insulation and thermal bridging require special focus. In most municipalities, cutting structural penetrations or installing electrical circuits for high-powered hoods calls for a standard mechanical permit and post-installation inspection.
Before signing a contract, obtain itemized quotes that specify rigid galvanized steel pipe, appropriate exterior wall or roof caps, structural boxing, and necessary electrical wiring. Skimping on quality materials or accepting flexible pipe shortcuts saves minimal money initially but almost always leads to noisy operation, greasy cabinetry, and expensive remediations down the road.
Published 2026-09-21 · reviewed with each rebuild, last September 2026.
Find shooting ranges near you
The directory lists 6,919 shooting ranges by state and city — pick your state or use the “Near me” button in the header.
More guides
-
 Safety
Can a Felon Go to a Shooting Range? Federal Rules, Range Policies, and Shooting Sports Explained
-
 Money
MoneyGun Range Costs and Rental Guide: Fees, Ammo, and What to Expect
-
 Safety
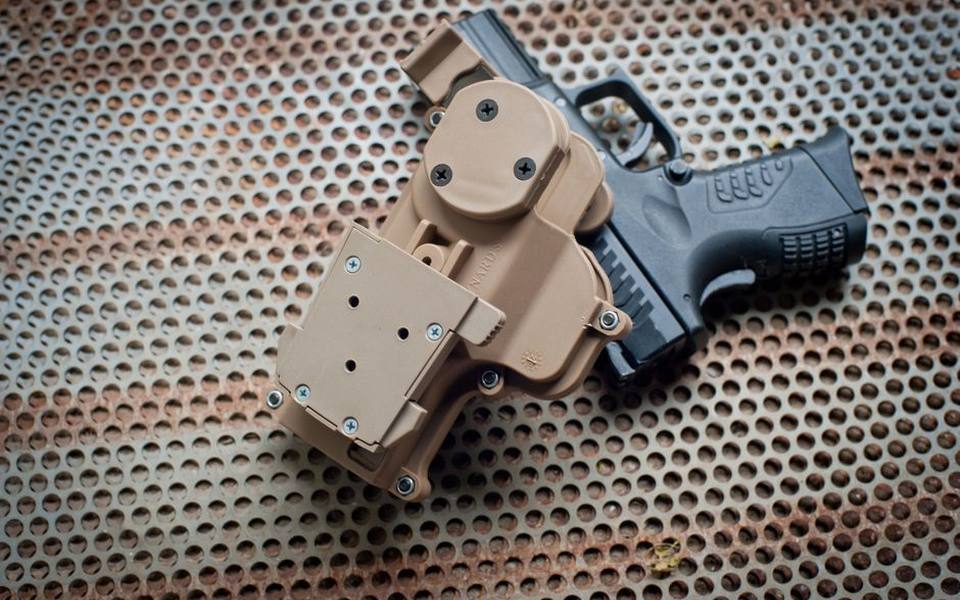
Concealed Carry Permit Costs, Classes, and Certification Guide
-
 Service
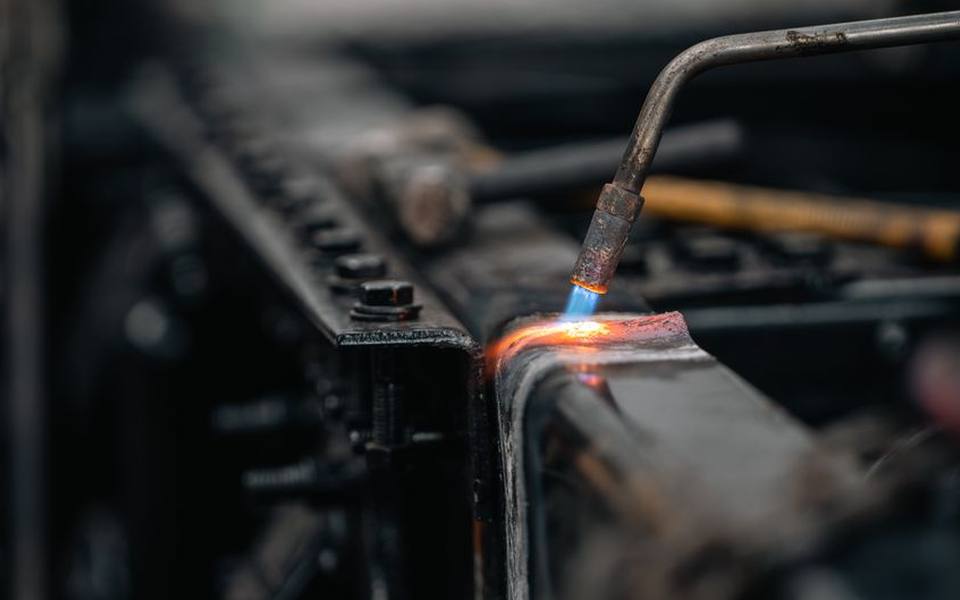
Pinning and Welding a Muzzle Device: Legal Standards and Technical Steps
-
 Buying
FFL Transfer Fees, Background Checks, and NFA Kiosks Explained
-
 Buying
Where and How to Buy Police Trade-In Firearms Safely
-
 Owning
Beginner Guide to Long-Range Shooting: Distances, Tips, and Calculators
-
 Owning
How to Choose the Best Outdoor Shooting Range for Your Needs
-
 Safety
Indoor & Public Shooting Ranges: Etiquette, Costs, & Locating Ranges
-
 Safety
Gun Safety Courses, Hunter Education, and Concealed Carry Certification Guide
-
 Owning
Firearms Licensing, FOID Cards, and Background Checks: Verification, Processing, and Appeals
-
 Owning
Target Shooting Sports: Clay, Trap, Skeet, and Precision Rifle Disciplines
-
 Owning
Gun Cleaning Kits and Maintenance: Solvents, Bore Snakes, and Ultrasonic Cleaners
-
 Safety
Shooting Range Ear Protection & Custom Molded Earplugs
-
 Safety
Tactical Firearms Training and Advanced Defense Courses Guide
-
 Owning
Shooting Range Accessories: Eye Protection, Range Bags, and Shooting Rests
-
 Owning
Indoor Archery and Crossbow Shooting: Practical Range Guide, Zeroing, and Gear
-
 Service
Gunsmithing Services: Firearm Restoration, Stock Refinishing, and Custom Work
-
 Storage
Gun Safes and Storage Solutions: Biometric Locks, Humidity, and Ammo Storage
-
 Safety
Custom Molded Hearing Protection and Shooting Earplugs Guide
-
 Owning
Modern Shooting Ranges, Home Simulators, and Training Memberships
-
 Buying
Shooting Gear, Target Optics, Tools, and Ballistics Essentials
-
 Owning
Firearm Licensing, Permits, Background Checks, and Guard Rules
-
 Safety
Firearms Training and Self-Defense Classes: Beginner to Advanced
-
 Safety
Target Practice in the Digital Age: Viral Trends, Range Etiquette, and Practical Drills
-
 Owning
Custom Kydex Holsters Guide: Types, Revolver Fits, and Draw Techniques
-
 Safety
Tactical Defense Courses: Active Shooter Response, Medic Training, and Self-Defense
-
 Service
Creative Birthday Photoshoot Ideas for Kids, Teens, and Adults
-
 Buying
Portable, Ductless, and Under-Cabinet Range Hood Selection Guide
-
 Buying
Commercial Kitchen Exhaust Hoods: Complete Selection and Ventilation Guide
-
 Safety
NRA Range Safety Officer Certification: Requirements, Training, and Field Expectations