Building a Practical Gun Cleaning Kit for Everyday Maintenance
Keeping a firearm reliable starts with having the right tools assembled before you ever break down a slide or pull a bolt. A dependable gun cleaning kit does not need dozens of specialty gadgets, but it does require durable components sized correctly for your specific calibers. At minimum, every workstation requires a sturdy cleaning rod or pull cord, caliber-matched bronze phosphor brushes, cotton mop tips, slotted patch holders, brass jags, lint-free cotton patches, utility nylon brushes, and a cushioned workspace mat that resists chemical spills.
Cheap all-in-one boxed sets often tempt newer shooters because they promise coverage for every gauge and caliber on the market. However, bargain kits frequently include flimsy multi-piece aluminum rods that bend under pressure or flex inside the bore, potentially scratching delicate rifling lands or damaging crowns. Investing in a solid brass or one-piece coated steel rod pays off immediately by providing rigidity and protecting the barrel interior during heavy scrubbing sessions.
Organization plays a major role in keeping maintenance straightforward rather than frustrating. Storing picks, brass scrapers, bore guides, and clean patches in transparent tackle boxes or labeled range bags ensures you do not scramble for supplies while parts sit soaked in chemical cleaners. Having a dedicated field kit in your range bag alongside your home bench setup also lets you clear sudden fouling issues without ending range day prematurely.
Selecting the Right Chemical Solvents for Carbon and Copper Fouling
Modern ammunition leaves behind a complex mixture of burned powder carbon, primer salts, bullet copper jacket material, and raw lead. No single liquid breaks down every contaminant with equal speed, which is why choosing a firearm cleaning solvent depends heavily on the type of shooting you do. General carbon cutters dissolve unburned powder around bolt faces, extractors, and slide rails within minutes, whereas copper strippers rely on specialized chemical reactions to lift stubborn metal jacket deposits from deep rifling grooves.
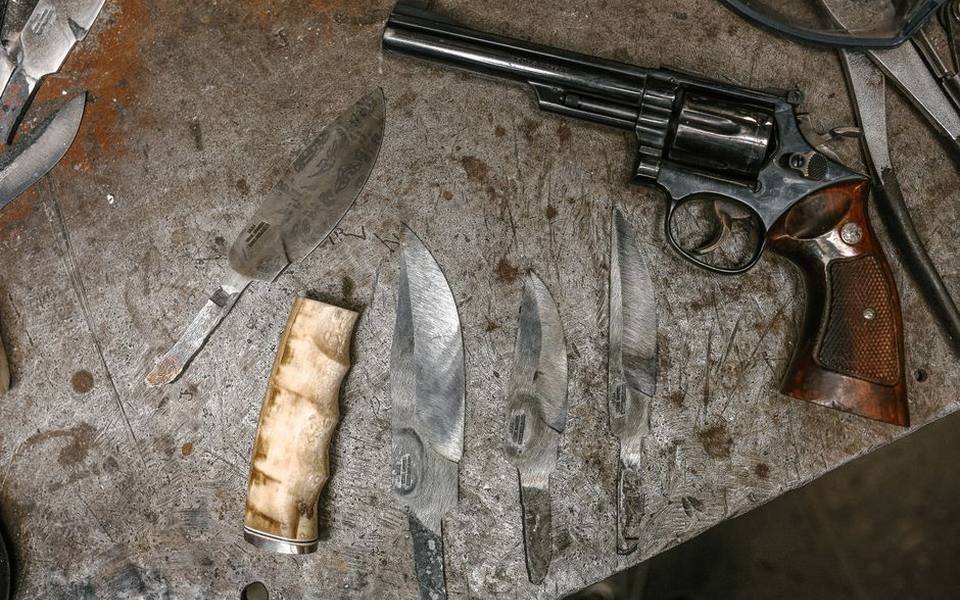
Shooters frequently debate what constitutes the best gun cleaning solvent, but performance always depends on chemical balance and ventilation. Traditional petroleum-distillate formulas work aggressively against dried carbon bake-on, yet they carry heavy odors that require strong garage ventilation or outdoor air movement. Modern water-based or citrus bio-solvents provide milder odors suitable for apartment cleaning benches, though they typically demand a few extra minutes of soak time before scrubbing.
Aggressive copper solvents containing ammonia require strict attention to timing because leaving them in a barrel too long can pit steel bores. Always follow the solvent manufacturer timing recommendations, run dry patches until clean, and never store a firearm with harsh copper strippers still lingering inside the rifling. Neutralizing strong chemicals with a standard light cleaner or flushing patch prevents long-term moisture attraction and unexpected barrel etching.
Applying Lubricants Correctly Without Over-Oiling Moving Parts
A common mistake among newer gun owners is equating heavy lubrication with smooth mechanical function. In reality, applying excessive gun oil lubricant creates a sticky trap that gathers unburned powder, airborne grit, and ambient lint, turning liquid protection into an abrasive paste. Modern firearms need precise, controlled lubrication on sliding contact rails, hinge pins, cocking cams, and locking lugs, rather than an all-over drench that seeps into firing pin channels.
Choosing between thin synthetic gun oil lubricant and medium-body grease comes down to operating pressures, friction points, and ambient temperatures. Light synthetic oils penetrate tight pin tolerances, slide smoothly across semi-automatic pistol rails, and resist freezing in cold hunting environments. Heavier greases stay placed on high-load rifle locking lugs, shotgun hinge trunnions, and pistol slide grooves during sustained high-round-count sessions where thin oils might migrate or burn away.
Striker channels and firing pin passages represent critical exceptions where wet lubrication must be strictly avoided. Liquid oils inside a firing pin sleeve capture carbon particulate, which quickly slows striker velocity and leads to light primer strikes or ignition failures. After cleaning these internal channels with non-residue degreasers, dry-patch them thoroughly so the firing pin moves freely through a clean, dry metal environment.
Using Pull-Through Tools and Bore Snakes for Fast Field Cleans
Traditional rod-and-patch routines remain the benchmark for deep cleaning, but modern pull-through ropes have revolutionized quick field maintenance. A dedicated bore snake 9mm tool combines an integrated bronze scrubbing brush with an expansive woven fabric tail, allowing you to sweep out loose carbon and powder debris in a single pass from breech to muzzle. For range bags and hunting packs, these compact tools save substantial bench time between formal disassembly sessions.
Using a bore snake correctly requires pulling strictly in line with the bore axis to prevent unnecessary wear against the barrel crown. Adding a few drops of solvent to the leading woven section in front of the bronze bristles softens fresh fouling, while the dry rear cord mops the chamber and bore dry before exit. Because pull ropes compact easily into small tins, they allow quick barrel sweeps right at the bench during transitions at indoor shooting ranges where firing dozens of magazines generates rapid residue build-up.
While extremely convenient, pull cords do not replace a full cleaning rod setup when tackling heavy copper buildup or deep chamber crust. Over repeated use, the fabric rope accumulates carbon grit, requiring hand-washing in soapy warm water to avoid dragging old residue back through clean barrels. Keep several caliber-labeled cords in your gear kit so you never cross-contaminate different bore sizes or force oversized bristles through tight rifling.
Deep Cleaning Handgun and Rifle Components with an Ultrasonic Tank
When dealing with heavily caked suppressors, revolver cylinders, or intricate trigger sub-assemblies, manual scrubbing can take hours of scraping. An ultrasonic gun cleaner uses high-frequency acoustic sound waves moving through liquid to generate millions of microscopic vacuum bubbles. This process, known as cavitation, causes tiny implosions that scrub baked carbon, lead flakes, and old grease out of pinholes, roll-pin cavities, and recessed screw threads that toothbrushes cannot reach.
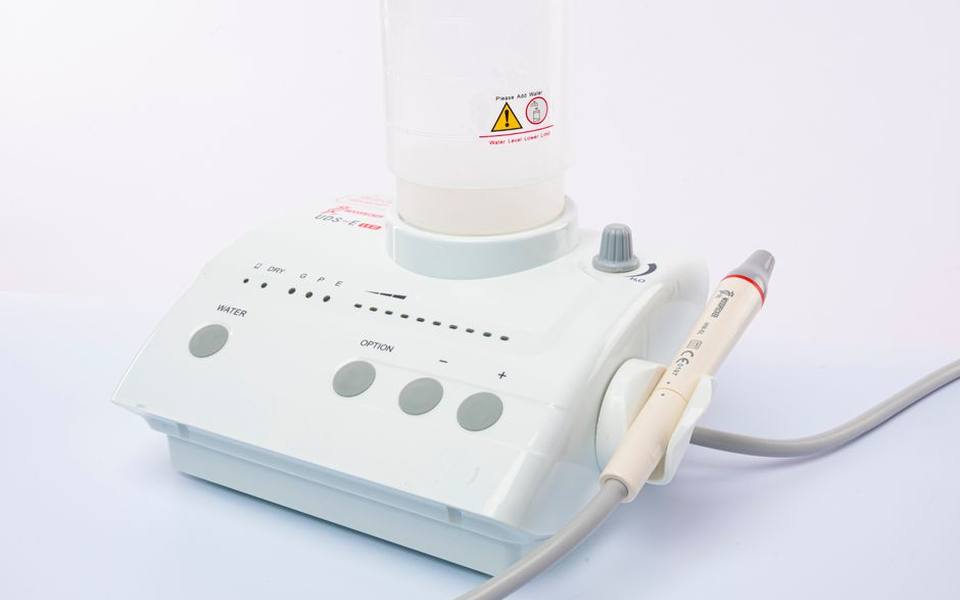
Performing gun cleaning with ultrasonic cleaner tanks requires completely disassembling assemblies into their individual steel and metal components. While a field-stripped slide or bolt carrier group can drop directly into the tank basket, complete firearms should never be submerged whole. Cavitation will force liquid into tiny internal springs and blind holes where water cannot readily evaporate, creating hidden moisture pockets that breed internal rust if parts are not separated and dried individually.
Tanks equipped with variable heating elements accelerate carbon softening, but heat must be regulated carefully depending on component coatings. High water temperatures combined with aggressive acoustic energy can dull decorative bluing, lift paint marks, or degrade certain painted sights. For stubborn components like bolt faces and compensators, setting the transducer timer for short cycles provides thorough cleaning without stressing component finishes.
Selecting the Right Ultrasonic Tank Chemistry and Surface Compatibility
The fluid poured into the cleaning tank is just as critical as the acoustic hardware itself. Plain tap water lacks the surface tension reduction needed for cavitation bubbles to form and collapse effectively against oily metals. Utilizing a specialized ultrasonic gun cleaning solution formulated specifically for firearms breaks down petroleum binders and lifts carbon crust into suspension while including rust-inhibiting agents to protect bare steel during drying.
Material compatibility is the most vital safety factor when operating ultrasonic tanks. An ultrasonic gun cleaning solution engineered for carbon steel can severely discolour or etch anodized aluminum frames, optics housings, or lightweight receivers within a ten-minute cycle. When cleaning aluminum components, verify that the cleaning concentrate explicitly states safe use on non-ferrous metals, and avoid mixing different metals in the basket simultaneously to prevent galvanic reactions.
Once an ultrasonic cycle finishes, the work is only half complete because the cleaning fluid strips away all protective lubrication. Parts emerged from the tank must be rinsed thoroughly in clean warm water, blown out with compressed air to clear blind pins, and immediately treated with a moisture-displacing oil bath. Skipping this prompt relubrication step can result in fine surface flash rust forming on raw steel parts within hours of exiting the bath.
Determining How Often to Clean Based on Round Counts and Environment
A common point of confusion among gun owners revolves around how often clean gun components require service to maintain safe operation. Modern defensive centerfire handguns running quality factory ammunition can reliably cycle hundreds of rounds between deep cleanings without mechanical hiccups. Conversely, rimfire firearms firing waxy lead cartridges or black-powder arms foul rapidly and demand thorough scrubbing after almost every trip to gun and shooting ranges near you.
Environmental exposure often dictates maintenance intervals far more than actual shot counts. A defensive concealed carry pistol riding against the body absorbs ambient sweat, skin oils, and clothing lint every single day, requiring regular weekly wipe-downs and bore checks even if zero rounds were fired. Similarly, hunting rifles taken out in damp, foggy timber must be dried and lightly oiled immediately upon returning home, regardless of whether a shot was taken.
Precision rifle shooters balance cleaning frequency carefully against barrel settling patterns. Many match barrels exhibit small shifts in point of impact right after an aggressive chemical scrub until several fouling shots lay down a light carbon veneer. For competition and target setups, track your rifle grouping habits: clean thoroughly when accuracy starts to open up, rather than tearing the barrel down to bare steel after every dozen rounds.
Managing Heavy Metal Contamination and Range Hygiene Safety
Handling spent brass, cleaning dirty barrels, and scrubbing lead-fouled compensators unavoidably transfers heavy metal residue onto skin, clothes, and table surfaces. Exposure to airborne lead dust and combustion byproducts presents real health concerns, particularly if residue is inadvertently ingested while snacking at the bench or transferred to family living spaces. Establishing disciplined hygiene protocols during and after cleaning protects you and your household from unnecessary heavy metal accumulation.
Standard household wet wipes or cosmetic towels are ineffective at lifting heavy metal particulate from porous skin surfaces. Keeping dedicated lead removing wipes on your shooting bench, range bag, and garage counter provides an immediate chemical binding agent that lifts microscopic lead, cadmium, and antimony residues from hands, forearms, and tools. Wiping down your hands before eating, drinking, or driving home significantly limits the spread of range contaminants.
Always clean firearms in well-ventilated areas, ideally atop disposable wax-backed paper pads or chemically resistant neoprene bench mats. Never consume food or beverages while handling firearm cleaning solvent or brass brushes, as airborne particles and misted solvents settle rapidly onto nearby cups and plates. Once maintenance concludes, wash your hands and forearms thoroughly with cold water first to keep skin pores closed before lathering with de-leading soap.
Step-by-Step Field Stripping and Bench Inspection Procedures
Before any patch touches a barrel, absolute mechanical safety must be verified without exception. Remove the ammunition source, lock the action rearward, visually inspect both the chamber and magazine well under bright light, and physically probe the chamber with a finger. Remove all live ammunition boxes completely from the cleaning bench to eliminate any possibility of accidental chambering during reassembly function checks.
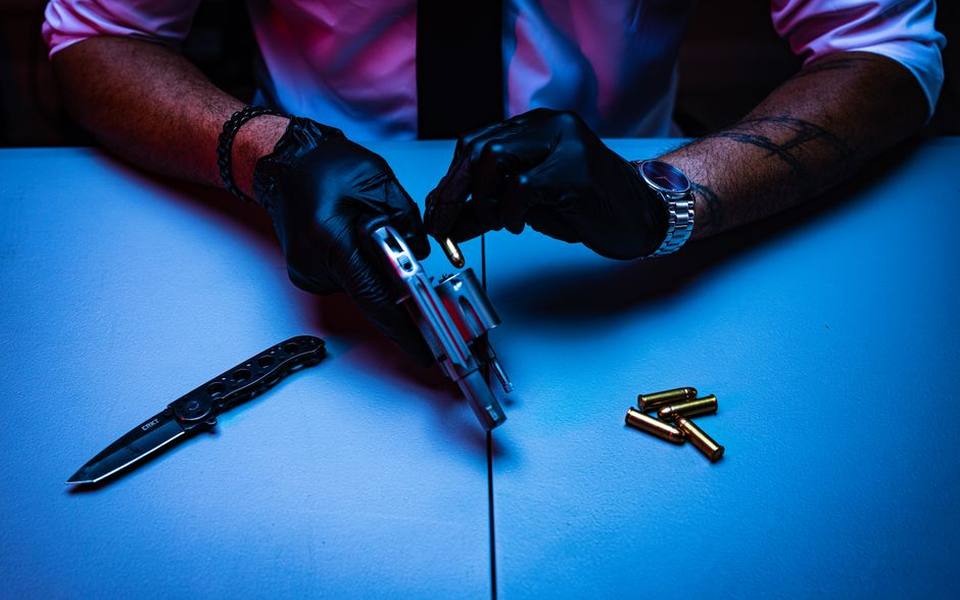
Begin the session by field stripping the firearm into its primary functional sub-assemblies according to the manufacturer manual. For semi-automatic pistols, this entails separating the slide, barrel, recoil spring assembly, and frame. Inspect critical wear surfaces as you disassemble: check the extractor hook for chipping, examine the ejector tip, inspect the slide rails for unusual gouging, and examine the barrel crown for minor dings that could destabilize bullet flight.
Work progressively from wet chemical loosening to dry mechanical removal. Wet a bronze bore brush with solvent, push it completely through the barrel from breech to muzzle, and pull it back without reversing direction mid-stroke to preserve bristle life. Allow the chemistry several minutes to dissolve stubborn carbon before running clean cotton patches through with a brass jag until they exit dry and clean, finishing with a drop of lubricant on working slide rails.
Tailoring Your Routine Across Practice Styles and Shared Firearms
Maintenance habits naturally shift depending on whether you shoot personal arms, participate in formal marksmanship courses, or utilize loaner firearms. Shooters enrolled in structured shooting ranges with classes and training often burn through high ammunition volumes in short periods, requiring rapid field inspections between drills to catch loose optics screws, sluggish extractors, or excessive slide drag before they cause malfunctions.
Similarly, shooters trying out unfamiliar platforms through shooting ranges with gun rentals should pay close attention to operational cleanliness before stepping onto the firing line. Inspecting rental handguns or rifles for excessive carbon buildup, dry rails, or fouled feed ramps provides a practical baseline for understanding how neglected maintenance directly correlates with stovepipes, double feeds, and sticky extractions under range conditions.
Developing a steady routine transforms firearm maintenance from a tedious chore into a satisfying inspection ritual. By matching your cleaning methods to your actual round counts—using bore snakes for quick sweeps, traditional rods for deep fouling, and ultrasonic tanks for complex overhauls—you ensure your equipment remains safe, accurate, and completely dependable for decades of active shooting.
Published 2026-09-21 · reviewed with each rebuild, last September 2026.
Find shooting ranges near you
The directory lists 6,919 shooting ranges by state and city — pick your state or use the “Near me” button in the header.
More guides
-
 Safety
Can a Felon Go to a Shooting Range? Federal Rules, Range Policies, and Shooting Sports Explained
-
 Money
MoneyGun Range Costs and Rental Guide: Fees, Ammo, and What to Expect
-
 Safety
Concealed Carry Permit Costs, Classes, and Certification Guide
-
 Service
Pinning and Welding a Muzzle Device: Legal Standards and Technical Steps
-
 Buying
FFL Transfer Fees, Background Checks, and NFA Kiosks Explained
-
 Buying
Where and How to Buy Police Trade-In Firearms Safely
-
 Owning
Beginner Guide to Long-Range Shooting: Distances, Tips, and Calculators
-
 Owning
How to Choose the Best Outdoor Shooting Range for Your Needs
-
 Safety
Indoor & Public Shooting Ranges: Etiquette, Costs, & Locating Ranges
-
 Safety
Gun Safety Courses, Hunter Education, and Concealed Carry Certification Guide
-
 Owning
Firearms Licensing, FOID Cards, and Background Checks: Verification, Processing, and Appeals
-
 Owning
Target Shooting Sports: Clay, Trap, Skeet, and Precision Rifle Disciplines
-
 Safety
Shooting Range Ear Protection & Custom Molded Earplugs
-
 Safety
Tactical Firearms Training and Advanced Defense Courses Guide
-
 Owning
Shooting Range Accessories: Eye Protection, Range Bags, and Shooting Rests
-
 Owning
Indoor Archery and Crossbow Shooting: Practical Range Guide, Zeroing, and Gear
-
 Service
Gunsmithing Services: Firearm Restoration, Stock Refinishing, and Custom Work
-
 Storage
Gun Safes and Storage Solutions: Biometric Locks, Humidity, and Ammo Storage
-
 Safety
Custom Molded Hearing Protection and Shooting Earplugs Guide
-
 Owning
Modern Shooting Ranges, Home Simulators, and Training Memberships
-
 Buying
Shooting Gear, Target Optics, Tools, and Ballistics Essentials
-
 Owning
Firearm Licensing, Permits, Background Checks, and Guard Rules
-
 Safety
Firearms Training and Self-Defense Classes: Beginner to Advanced
-
 Safety
Target Practice in the Digital Age: Viral Trends, Range Etiquette, and Practical Drills
-
 Owning
Custom Kydex Holsters Guide: Types, Revolver Fits, and Draw Techniques
-
 Safety
Tactical Defense Courses: Active Shooter Response, Medic Training, and Self-Defense
-
 Owning
Complete Guide to Kitchen Range Hood Venting, Ductwork, and Installation
-
 Service
Creative Birthday Photoshoot Ideas for Kids, Teens, and Adults
-
 Buying
Portable, Ductless, and Under-Cabinet Range Hood Selection Guide
-
 Buying
Commercial Kitchen Exhaust Hoods: Complete Selection and Ventilation Guide
-
 Safety
NRA Range Safety Officer Certification: Requirements, Training, and Field Expectations