Defining what counts as long-range shooting
In practical rifle marksmanship, long-range shooting generally begins wherever gravity, bullet drop, and crosswinds require deliberate sight adjustments rather than a simple center-mass aim. For traditional centerfire hunting and target cartridges, many instructors draw that line starting around 300 to 400 yards, extending past 1,000 yards for specialized setups. Inside 200 yards, modern high-velocity rounds fly relatively flat, allowing shooters to hit steel plates with minimal calculation. Beyond that threshold, atmospheric drag and flight time rapidly compound every small error.
To put distance into perspective, 500 yards equals exactly 1,500 feet, or the combined length of five consecutive football fields including the end zones. Looking at an eight-inch steel target at that distance without magnification makes the plate appear smaller than the front post of standard iron sights. At 500 yards, a typical match bullet takes well over half a second to arrive, dropping anywhere from three to five feet depending on velocity and design.
Because of the open terrain needed to run these distances safely, most urban shooting spots do not offer lines past 100 or 200 yards. Locating dedicated outdoor shooting range facilities with berms cleared out to 600 yards or further is typically the first practical step for any beginner looking to step outside short-range marksmanship.
Building solid shooting fundamentals first
Distance acts as an unforgiving amplifier of basic technique. A tiny flinch or inconsistent cheek placement that results in a half-inch shift on paper at 50 yards will translate into a total miss off a steel target at 600 yards. Precision starts behind the rifle with building a natural point of aim, where the crosshairs rest effortlessly on the target without muscular tension pulling or pushing the stock off alignment.
The prone position provides the most stable foundation for beginners. Lying directly straight behind the rifle rather than canted at an angle helps the body absorb recoil symmetrically, allowing the optic to track straight up and settle back on target for rapid spotting. Supporting the rear of the stock with a squeeze bag gives micro-adjustments in elevation that finger pressure on the bipod simply cannot match.
Breathing control and trigger release must become smooth, unconscious routines. Firing should occur during the natural respiratory pause at the bottom of an exhale, pressing the trigger straight back with even pressure. For those transitioning from casual plinking to precision platforms, scheduling structured training or certification classes helps establish repeatable mechanics before developing bad habits that waste expensive match ammunition.
Using ballistic calculators to predict bullet drop
Gravity never takes a day off, but calculating its effect on a bullet has never been easier thanks to mobile ballistic solvers. A ballistic calculator is software that projects a projectile flight path through atmospheric models. By calculating the trajectory curve, the app tells the shooter precisely how many clicks, milliradians, or minutes of angle to dial into the optic elevation turret.
Accurate outputs require meticulous inputs. A calculator relies on the bullet weight, muzzle velocity, bullet aerodynamic drag coefficient, optic height above the bore, and ambient atmospheric conditions like barometric pressure, temperature, and humidity. If a shooter assumes factory box velocity without measuring actual speed with a chronograph, the computer drop prediction at 600 yards can easily miss the steel target by several inches or even feet.
Modern ballistic apps also account for aerodynamic jump and spin drift, which causes right-twisting rifled bullets to drift slightly rightward at long distances. While running the numbers on a phone screen feels clinical, testing those firing solutions on the line confirms your theoretical data against actual physical bullet impacts, creating what shooters call confirmed dope.
Reading wind and atmospheric conditions
Gravity is steady and predictable, but reading wind is where true marksmanship skill lives. A crosswind of just 10 miles per hour can push a standard match projectile sideways by more than two feet at 500 yards. Wind velocity rarely remains uniform across the entire flight path; a breeze blowing gently from the left at the firing line may be howling through a mid-range valley and dead calm at the target.
Spotting the wind requires observing subtle environmental indicators between you and the backstop. Range flags, blowing grass, moving tree leaves, and dust clouds kicked up by earlier impacts all tell a story. Shooters also read optical mirage—the visual heat shimmer rising off the ground. When viewed through a spotting scope slightly out of focus, straight upward boiling mirage indicates dead calm, while slanted mirage reveals gentle to moderate lateral breezes.
When correcting for wind, beginners usually choose between turning their scope windage turret or holding off using the grid hash marks inside their reticle. Reticle holds are generally favored for wind because gusts constantly change speed. Holding half a mil into the wind allows you to adjust instantly if the breeze drops mid-cycle without losing your mechanical zero.
Selecting gear and finding places to practice
Getting into long-range precision does not require an immediate heavy investment in specialized competition rifles. Many modern production rifles paired with reliable variable-power optics can easily hit targets out to 600 yards. Trying out different calibers and chassis setups at destinations featuring guns available to rent gives you firsthand experience with recoil profiles and stock ergonomics before spending your budget.
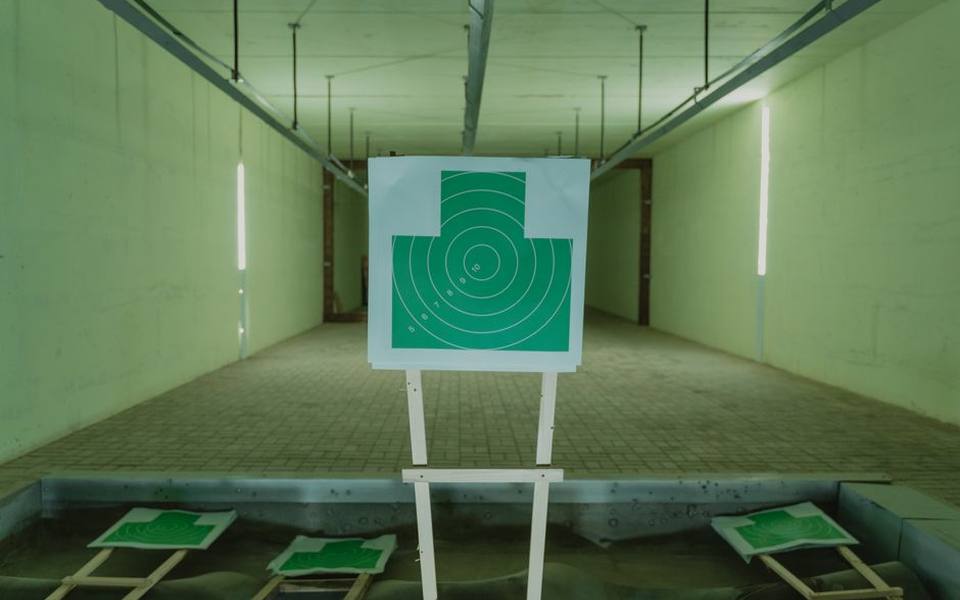
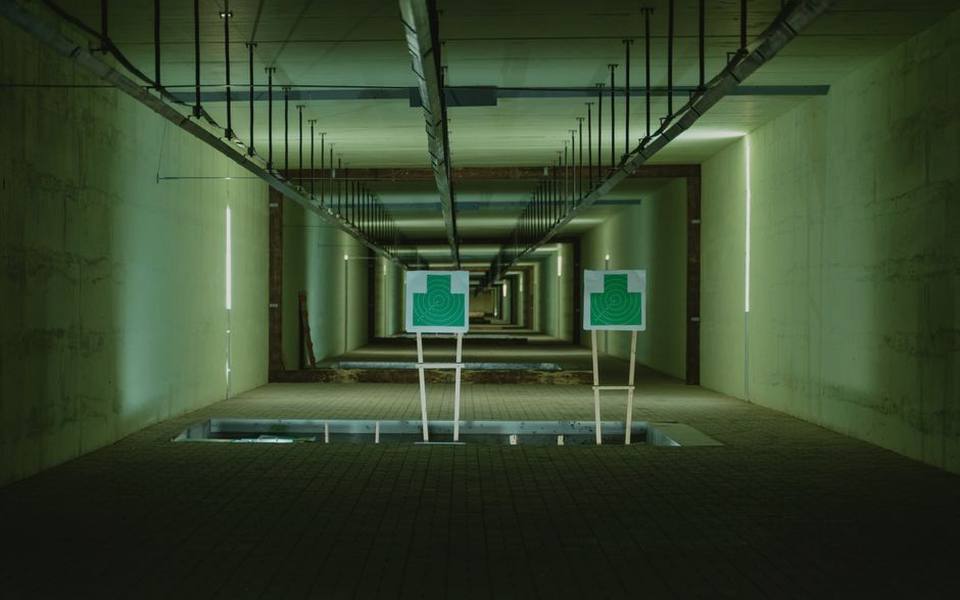
Before shooting past 300 yards, establish an uncompromising zero at a closer distance. Setting a clean 100-yard baseline zero is often easiest in an indoor range where dead air prevents wind from hiding tiny mechanical inaccuracies or barrel inconsistencies.
Once your baseline zero and initial drop tables are set, look for facilities designed for distance. Regions with wide-open geography, such as the vast footprint of outdoor shooting ranges in Texas, frequently offer dedicated steel alleys reaching 800 to 1,000 yards. Starting at 300 yards and stepping back in 100-yard increments builds the confidence and confirmed adjustments needed to make long-range hits predictable.
Published 2026-09-20 · reviewed with each rebuild, last September 2026.
Find shooting ranges near you
The directory lists 4,654 shooting ranges by state and city — pick your state or use the “Near me” button in the header.
More guides
-
 Safety
Can a Felon Go to a Shooting Range? Federal and State Laws Explained
-
 Money
MoneyGun Range Costs & Rental Guide: Fees, Ammo, and What to Expect
-
 Owning
Concealed Carry Permit Costs, Classes, and Certification Guide
-
 Service
Pinning and Welding a Muzzle Device: Legal Standards and Technical Steps
-
 Buying
FFL Transfer Fees, Background Checks, and NFA Kiosks Explained
-
 Buying
Where and How to Buy Police Trade-In Firearms Safely
-
 Owning
How to Choose the Best Outdoor Shooting Range for Your Needs